How do I add PDFs for a new location?
Step 1) Login to your back office and click on Edit Website

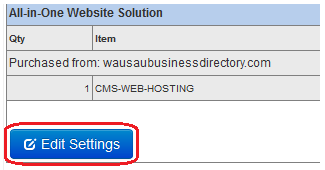
Step 2) Click on the Edit Settings button
Step 3) Add Group for new location
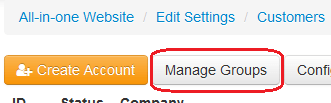
Step 4) Manage Groups
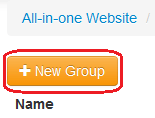
Step 5) Click 'New Group' button
Step 6) Create a name for the group, then click 'Create'. Example group name: Wausau School District
Note: you will need this exact name later
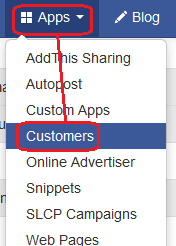
Step 7) Click Apps -> Customers
Step 8) Click on the link under the Company or Name column for the person you want to grant permission to this group for.
Step 9) Click the 'Edit Account' link at the bottom of the customer information.
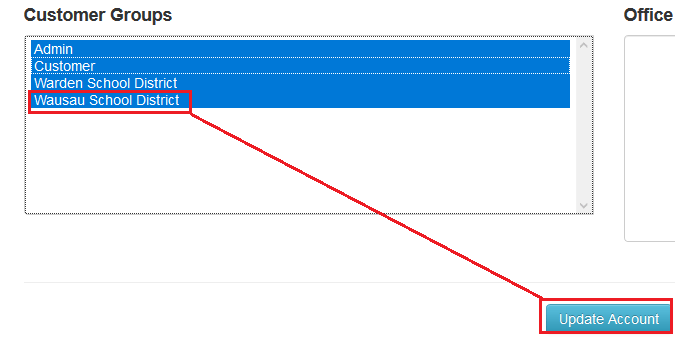
Step 10) Under 'Customer Groups' at the bottom, hold the CTRL (control) key and click on the group you want to grant access to and then click Update Account.
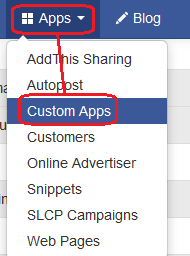
Step 11) Apps -> Custom Apps
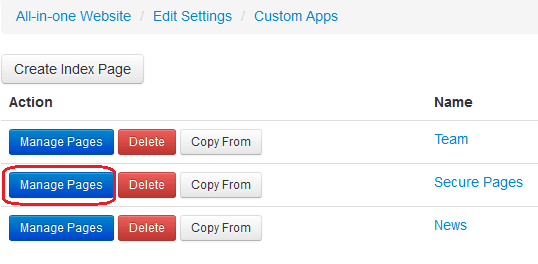
Step 12) Click on 'Manage Pages' for Secure Pages
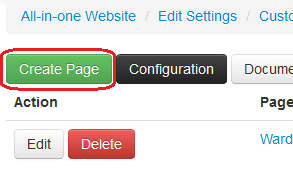
Step 13) Click on 'Create Page'
Step14) Page name should be descriptive of location, also uncheck 'Searchable' check box.
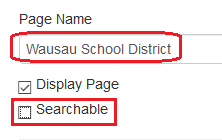
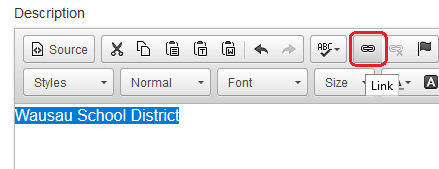
Step 15) In the editor put the name of location, eg. Wausau School District
Step 16) Highlight the text you just entered and then click the 'link' button
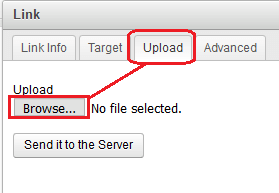
Step 17) Click the 'Upload' tab and then click on Browse...
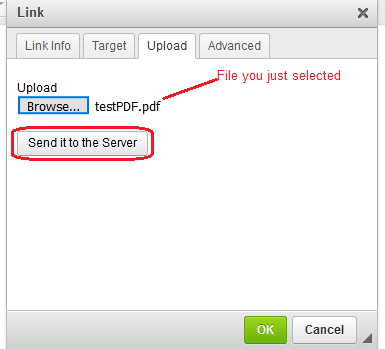
Step 18) Locate you file from your computer and then click on 'Open'.
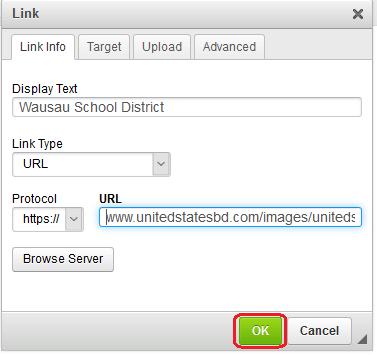
Step 19) In the Link box click on 'Send it to the Server'
Step 20) Click 'Ok' in the Link box
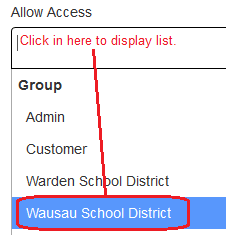
Step 21) Scroll down to the 'Allow Access' section, click in the box and click on the group you created in step 6 to associate the PDF with this group.
Step 22) Click 'Save Changes' at the bottom. Your PDF will now be available to view when logged in.
How do I add PDFs for a new location